
SKIN TONIC
Congratulations on making the choice to Grow your health with our Garden Apothecary Skin Tonic.
In this pack you’ll find 5 different herb varieties to grow in your garden or on your balcony and Rose Quartz crystals to add a little extra magic to your plants.
Lets start with each herb and how to grow them, what they look like and how to harvest, then we’ll move onto some recipes to get the most benefit from your medicinal
CALENDULA
| Method: | Sow direct or raise seedlings |
| Sowing Depth: | 15mm |
| When: | Spring and autumn |
| Germination: | 7-14 days @ 20-22°C |
| Hardiness / Life Cycle: | Hardy Annual |
| Plant Spacing: | 50cm |
| Plant Height: | 60cm |
| Position: | Part or full sun, moist soil |
| Days to Maturity/Flowering: | 70-80 days |
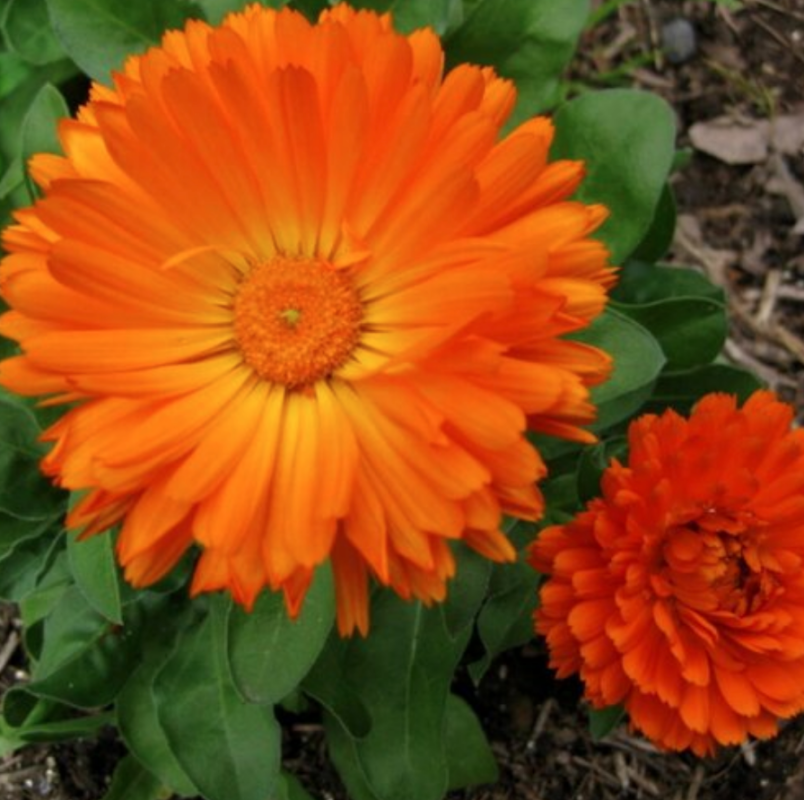
The best time to harvest calendula flowers is in the morning after the dew has dried. They are fresh, opening to the sun, but don’t have wet petals. You should also harvest the blossoms when they are half-open. Soon after this point they open more and are past their prime medicinally, and the petals begin to wither.
Calendula is widely used as a medicinal plant whose antibacterial, antifungal, and anti-inflammatory properties make it a strong ingredient for healing. In addition to using whole petals, Calendula flowers can be ground into powder or made into oils, creams, and ointments.
Calendula Oil
Calendula oil is a common method of topical medicinal use. It is made by infusing Calendula flowers in a warmed oil for several weeks, stirring it daily. Some oils to consider are carrier oil, olive oil, or jojoba oil The anti-inflammatory and antiseptic compounds in the oil are fantastic for wound healing and the various skin conditions already mentioned. In addition, the resulting oil can be used in formulas for smooth application of products like sunscreens to get the natural protective and remedy benefits of the plant.

SKULLCAP
| Method: | Raise seedlings – Stratify {See Below} |
| Sowing Depth: | 4mm |
| When: | Spring and summer |
| Germination: | 45 days @ 18-22°C |
| Hardiness / Life Cycle: | Hardy Perennial |
| Plant Spacing: | 60cm |
| Plant Height: | 30 cm |
| Position: | Part or full sun, moist soil |
| Days to Maturity/Flowering: | 110 days flower (500 days root harvest) |
Skullcap seeds need stratification – Stratify the seeds in the refrigerator for one week. Many skullcap varieties require a period of cold to enable germination. Place seeds on a moist paper towel, put the paper towel in a ziplock bag, and place the bag in the refrigerator. Check on the seeds in the refrigerator periodically during the stratification period to ensure none grow mouldy or dry out too much. Remove the seeds from the refrigerator after the stratification period and plant them in a sterilised seed mix to germinate. Water the seeds, and keep the soil moist but not soggy or waterlogged. Keep the newly planted seeds in a warm place until they sprout. Harvest – harvest the plants while they are flowering—the peak of their herbal power—then cut and dry the leaves and stems to use as herbal medicine.
Skullcap Tea
- 1 cup of dried skullcap leaves
- 2 cups of hot water
- A sealable container to store tea for future use
First bring water to a boil, then add the leaves and let steep for five minutes. Place a ceramic bowl in sink and place a colander on top to extract the leaves from the liquid. Save leaves for future use by storing in glass Tupperware container.
Green clay mask
Activate your mask with one tablespoon of French green clay and two tablespoons of skullcap tea. Next, add eight drops of geranium essential oil and four drops of patchouli essential oil. Massage all over your face and neck and leave on until the clay begins to dry.
Skullcap Cleanser
If you are looking for a gentle cleanser to wake your skin up in the a.m., skullcap tea may end your search. Just use your cooled tea on makeup free skin and wash as you would with any cleanser, massaging on the face and neck. You can even mix with honey or rose water for extra benefits!
LAVENDER
| Method: | Raise seedlings |
| Sowing Depth: | 5mm |
| When: | Spring, summer and early autumn |
| Germination: | 14-21 days @ 18-21°C |
| Hardiness / Life Cycle: | Hardy Perennial |
| Plant Spacing: | 80cm |
| Plant Height: | 120cm |
| Position: | Full sun, moist well drained soil |
| Days to Maturity/Flowering: | 356 days |
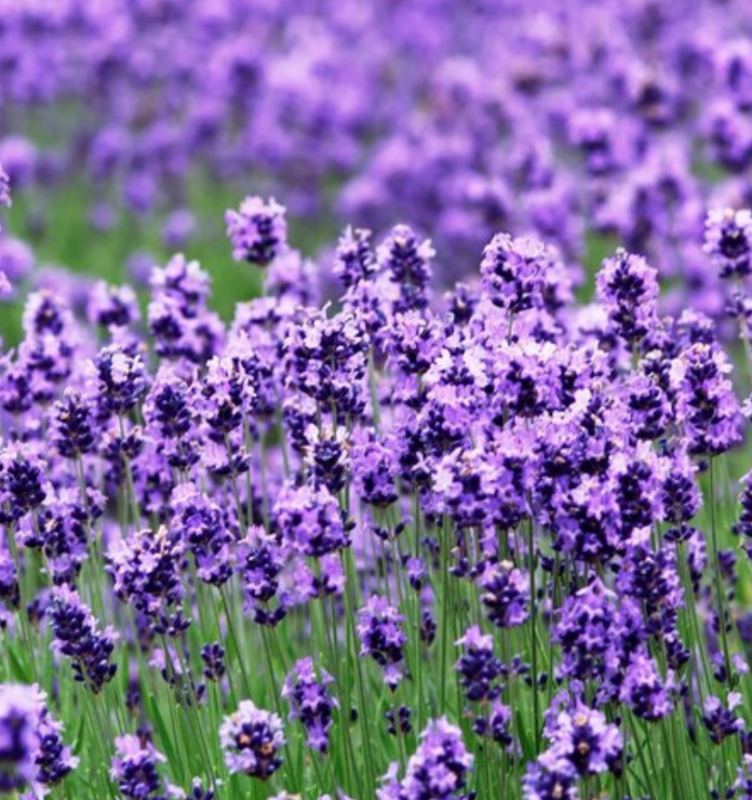
Lavender oil is created by steeping dry lavender flowers in a carrier oil of choice for a minimum of a week, up to several weeks. As the dry flowers infuse in the oil, the natural essential oils in lavender are drawn out and into the carrier oil. Popular carrier oil options include extra virgin olive oil, jojoba oil, sweet almond oil, and many more. To help you narrow down what type of oil to use, we will briefly discuss the unique properties and benefits of about a dozen different carrier oils in just a moment.
The condition and quality of the lavender flowers used to make lavender oil is actually more significant than the lavender variety used! It is necessary to use 100% dry lavender flower buds to make lavender oil. If the flowers are not fully dry, the leftover moisture can cause the lavender oil to get mouldy or spoil. Ensuring they’re totally dry will also help maximise how much essential oils are drawn out. After all, water and oil don’t mix!
To create the most healing and aromatic lavender oil, it is also very important to use dry lavender flowers that were harvested at the prime time (early in bloom). The flowers should also be air-dried or exposed to only low heat while drying. Otherwise, their essential oil content is far less.
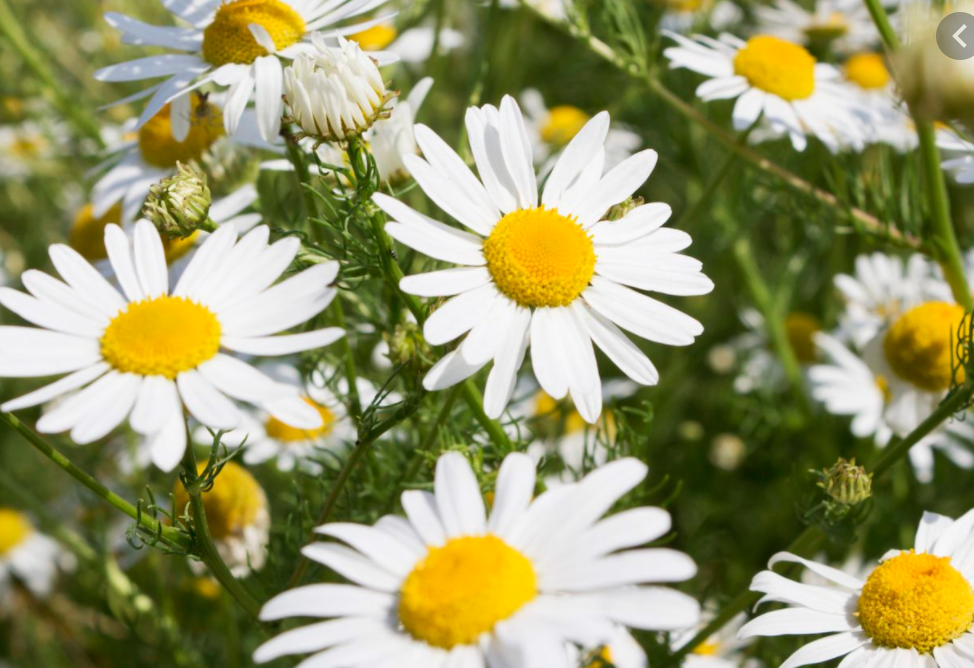
CHAMOMILE
| Method: | Sow direct or raise seedlings |
| Sowing Depth: | 1mm |
| When: | Spring and autumn |
| Germination: | 7-14 days @ 20-30°C |
| Hardiness / Life Cycle: | Hardy Annual |
| Plant Spacing: | 30cm |
| Plant Height: | 50cm |
| Position: | Full sun, well drained soil |
| Days to Maturity/Flowering: | 65 days |
The extracts of dainty chamomile flowers also contain volatile oils and flavonoids that are very beneficial for the skin. For example, it has anti-microbial and anti-inflammatory properties that treat eczema and acne, and it can even speed up the healing of minor skin injuries. And just like chamomile tea calms us from the inside, chamomile extract can calm our skin from the outside. If you have skin that’s inflamed or highly sensitive, it’s the skin herb for you.
Making chamomile infused oil isn’t difficult. You basically put dried plant material together with oil and let it seep like you’re making tea. The difference being that it takes longer, especially when using the cold-infusion method as we’ll do in this recipe. When you’re finished, the oil will have the sweet scent of chamomile flowers along with their medicinal properties. You make chamomile infused oil with any carrier oil of your choice and dried chamomile flowers. In this recipe, I recommend using sweet almond oil, since it’s light in feeling, absorbs well, and has very little scent. Use other light oils if you choose, or heavier ones like avocado oil or jojoba if you have dry skin. The most important thing about the oil you use is that it has a good shelf-life (check its date) and that it’s liquid at room temperature.
It’s always best to use dried herbal material when making infused oils and the same goes for chamomile flowers. If you grow your own, pick them when the flowers are full and open, and dry them in a food dehydrator or drying screens. You can use them to make chamomile infused oil when they’re bone dry and crunchy. I know that it’s tempting but please don’t use fresh flowers since the moisture in herbal material can end up spoiling your oil.
THYME
| Method: | Raise seedlings |
| Sowing Depth: | 3mm |
| When: | Spring and summer |
| Germination: | 14-21 days @ 18-21°C |
| Hardiness / Life Cycle: | Hardy Perennial |
| Plant Spacing: | 25cm |
| Plant Height: | 30cm |
| Position: | Part or full sun, moist well drained soil |
| Days to Maturity/Flowering: | 70-90 days |
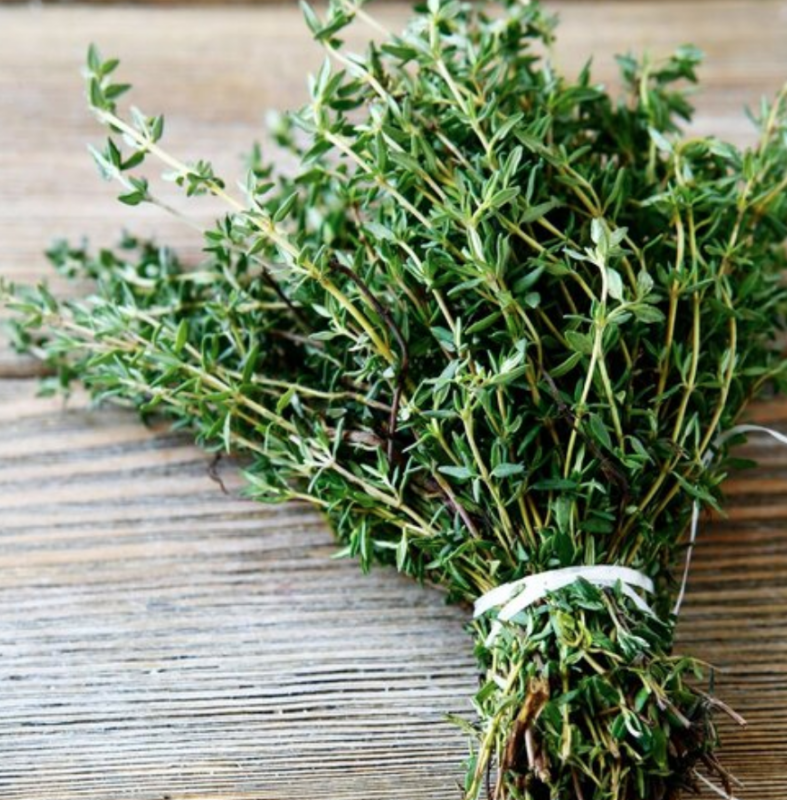
Given its antibacterial and antifungal properties, thyme oil can protect your skin from related infections. It works as a home remedy for acne. The oil also heals sores, wounds, scars, and cuts. It even relieves burns and acts as a natural remedy for skin rashes.
Thyme face cleanser for blemishes
Thyme is a great antiseptic and a really good astringent.
Fennel helps aid digestion and reduce inflammation when applied topically it will reduce redness and inflammation. Fennel seeds are used as a gentle cleanser and toner.
- 2 sprigs Fresh thyme Or 1/2 tbsp dried thyme
- 2 tsp Fennel seeds Crushed
- 1/2 cup Boiling water
- 1/2 Lemon Just the juice
-
Mix the thyme and fennel seed in a bowl and cover with boiling water
-
Add lemon juice and steep for 15 minutes
-
Strain the infusion and store the liquid in a jar, in the refrigerator for up to 10 days
-
The Ritual: You can use this toner every day. Dab it on your face and neck with a cotton ball, let it dry, then rinse.